Can Thermofoil Cabinets Be Peeled And Painted
Ah, thermofoil cabinets. They’re like that perfectly nice outfit you bought on sale. Looks good, does the job, but maybe not exactly your forever love. We’ve all got them, right? Those cabinet doors that have served us faithfully, resisting spills and sticky fingerprints with admirable (if slightly plasticky) grace.
But then, the itch begins. The desire for a refresh. A new color. Something… more. And so the question, whispered in hushed tones by DIY enthusiasts everywhere, arises: Can these modern marvels actually be peeled and painted? It’s a question that sparks debate. A true kitchen conundrum.
Now, some folks will tell you a firm "no." They’ll wag their fingers and speak of specialized primers and impossible adhesion. And to them, I say, bless your cautious hearts. But what if I told you there's a little more wiggle room in this situation? A little room for defiance against the tyranny of melamine?
Must Read
Let’s dive into the delightful, slightly messy, and often surprising world of transforming your thermofoil cabinets. Forget the glossy brochures for a moment. We’re talking real-life kitchen magic, or at least, a very determined attempt at it.
The Great Thermofoil Peel-Off: A Labor of Love (or Mild Annoyance)
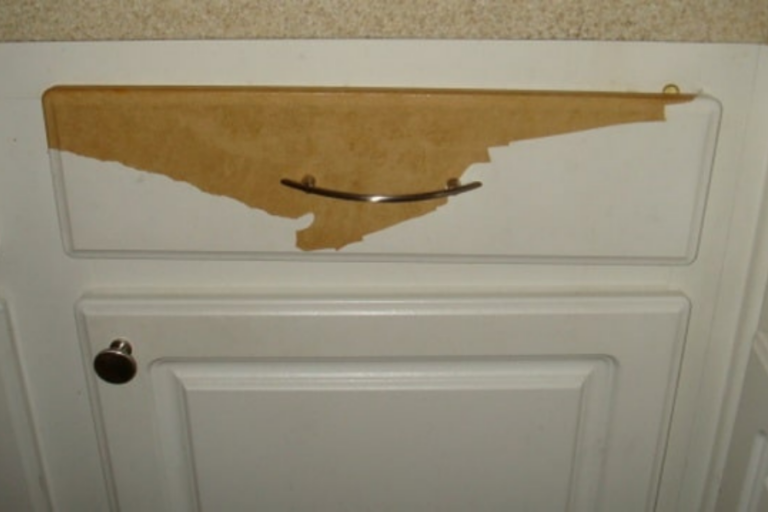
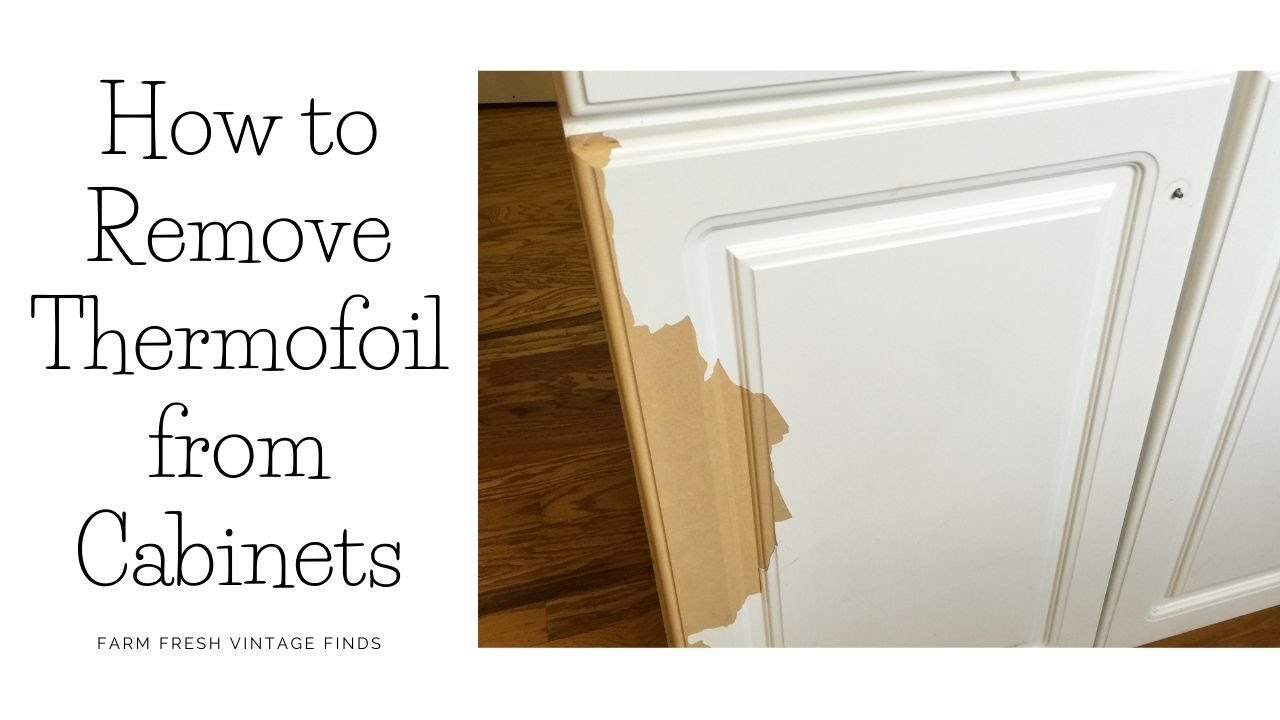
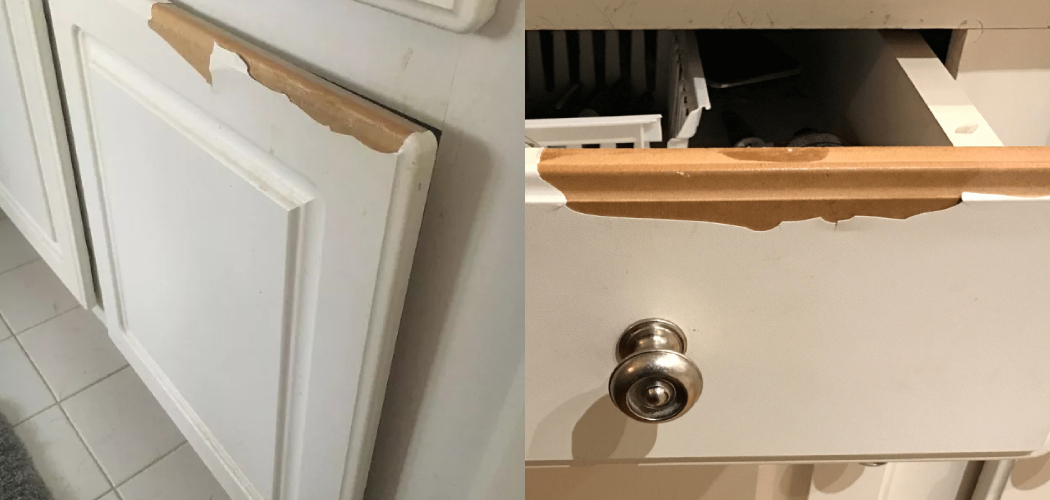
So, the first hurdle. The “peeled” part. Is it like peeling an orange? Sadly, not quite. Thermofoil is basically a plastic film bonded to a substrate, usually particleboard or MDF. It’s designed to be smooth and wipeable. That’s its superpower.
Sometimes, this superpower falters. Maybe moisture has crept in. Perhaps time and UV rays have weakened the bond. Or, maybe, just maybe, you’ve been a little too enthusiastic with your scrubbing. Whatever the reason, you might find areas where the thermofoil is already lifting. A little corner peeking up, inviting you to a closer inspection.
This is where the fun really begins. Grab a putty knife. Or a scraper. Or even a sturdy credit card if you’re feeling particularly resourceful. You’re essentially going to try and gently encourage this plastic skin to detach itself from its cozy home.
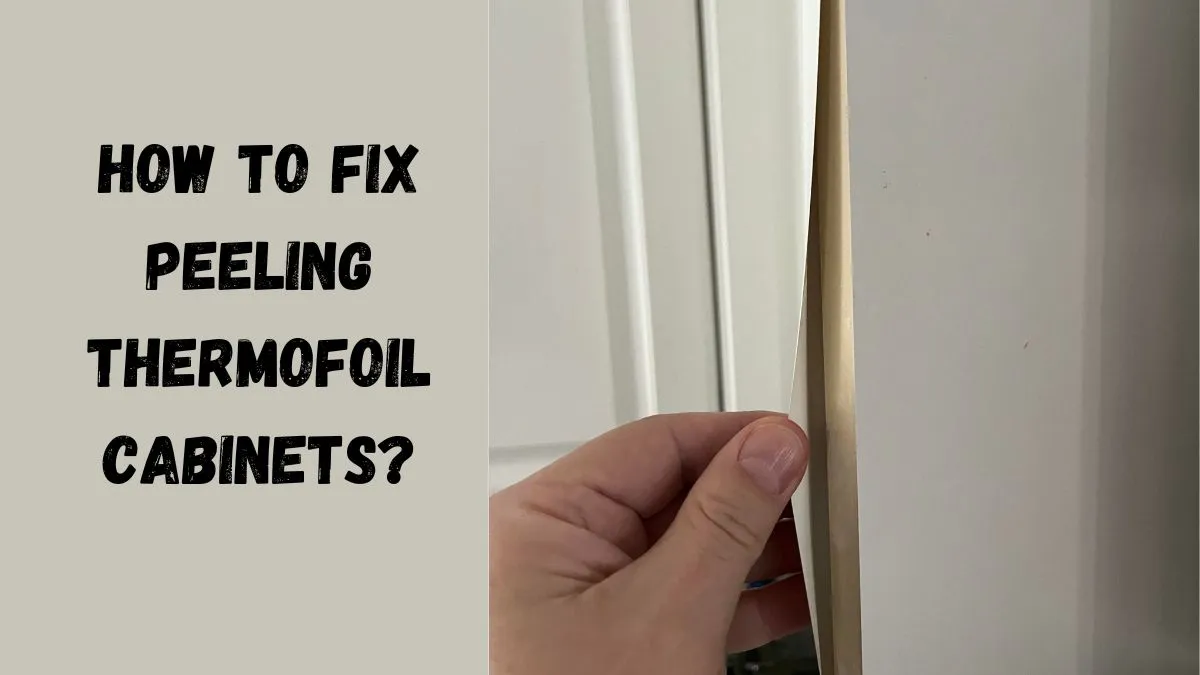
Some days, it cooperates. It peels away in satisfying sheets, leaving behind a surprisingly smooth surface. You’re practically a cabinet whisperer! Other days? Oh, it fights back. It tears. It leaves behind stubborn little bits of adhesive. It’s the thermofoil’s last stand. You might find yourself questioning your life choices. And your sanity. This is normal.
"It's like a high-stakes game of Jenga, but with your kitchen doors."
The key is patience. And maybe a good podcast. You’re not trying to win a race here. You’re trying to liberate your cabinets from their plasticky prison. If it’s coming off in stubborn strips, a little heat from a hairdryer can sometimes work wonders. It softens the adhesive, making it more amenable to your persuasive scraping.
The “Unpeelable” Enigma: When to Call It a Day (Or a Different Strategy)
Now, let’s be honest. Not all thermofoil is created equal. Some of it is practically fused to the board. In these cases, the peeling might become an exercise in futility. You’ll end up with more damage to the underlying substrate than you have a desire to repair. And that, my friends, is a sign to pivot.
If the thermofoil is stubbornly clinging on, and peeling is creating gouges or leaving behind a sticky residue that simply won’t budge, it might be time for a different approach. Think of it as a strategic retreat. You haven’t failed; you’ve just assessed the situation and decided on a new game plan.
For those truly uncooperative surfaces, the trick isn’t to force the peel. It’s to embrace a different kind of prep. We’ll get to that in a moment. But first, let’s celebrate the victories, however small. Those cabinet fronts that succumbed to your determined efforts? You’ve earned bragging rights.
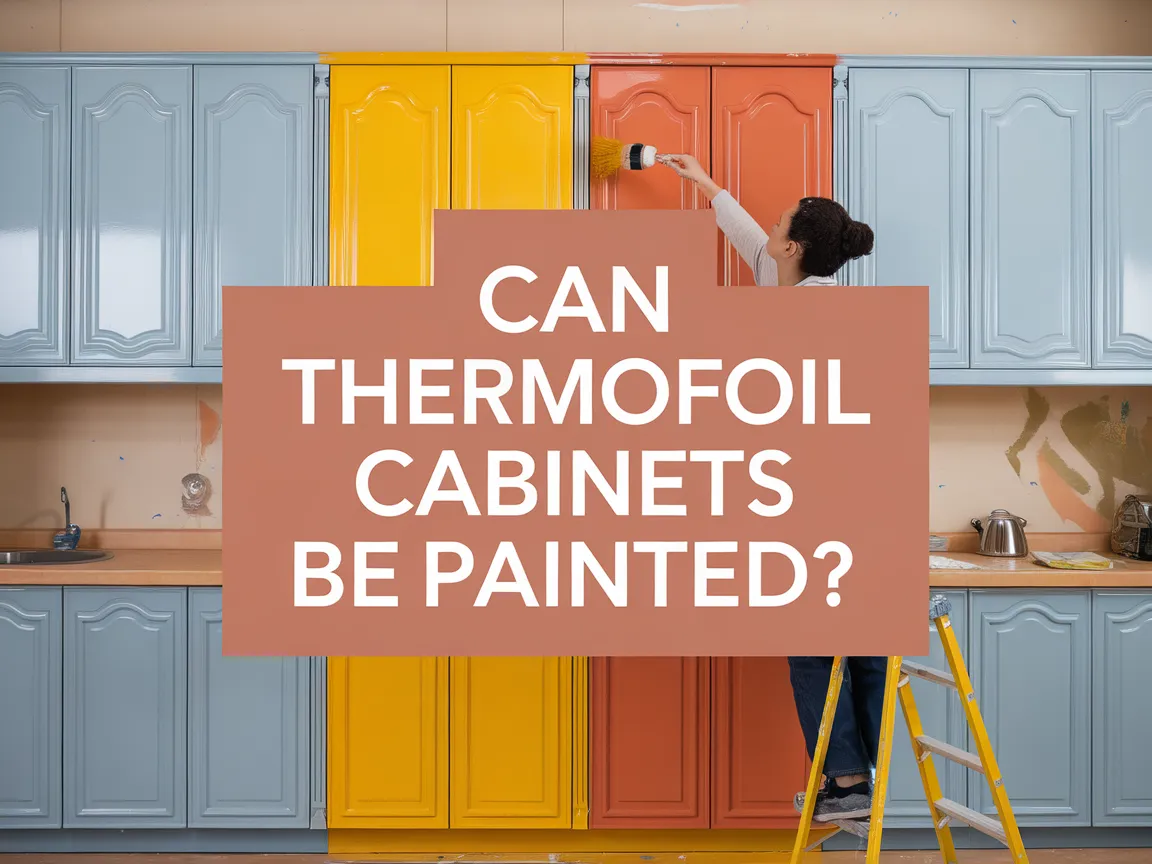
Painting the Unpaintable? Let the Primers Be Your Guide!
Okay, so you’ve either successfully peeled a good portion of your thermofoil, or you’ve wisely decided to work with the remaining bits. Either way, the next big question is paint. Can you actually paint over this plastic-y stuff?
The short answer is a resounding (and slightly cautious) YES. But here’s the catch: you can’t just grab any old can of latex paint and start slapping it on. Thermofoil is smooth. It’s non-porous. Paint, in its natural state, likes to grip onto things that are a bit rougher. Things that have some ‘tooth’.
This is where our hero, the primer, comes in. And not just any primer. We’re talking about a special kind of primer. A bonding primer. A primer that understands the assignment. Think of it as the ultimate wingman for your paint. It’s going to create a surface that your topcoat will actually want to stick to.

Look for primers specifically labeled for slick surfaces, laminate, or plastic. These are your secret weapons. Brands like KILZ or BIN often have excellent options. Some are oil-based, others are water-based, but they all share the goal of creating a tenacious grip.
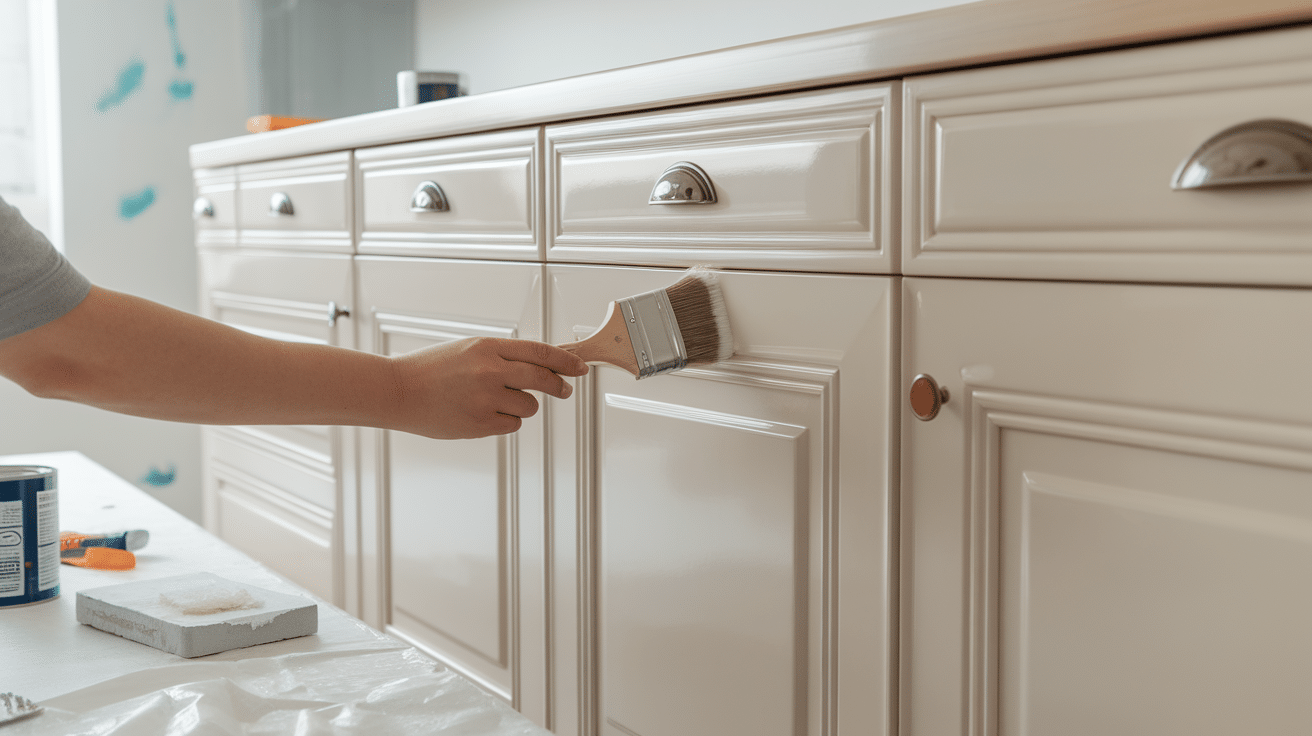
You'll want to give your cabinet doors a good clean first. Degrease them. Remove any dust or debris. A clean slate is crucial for a good bond. Then, apply your chosen bonding primer. You might need a couple of thin coats. Let each coat dry completely according to the manufacturer’s instructions.
This primer layer is non-negotiable. Skipping it is like trying to build a house on sand. It might look okay for a little while, but eventually, it’s going to crumble. And by crumble, I mean peel. Off comes your beautiful new paint job. Tragedy!
The Art of the Topcoat: Color Your Kitchen Happy
Once your primer is dry and you’re confident it’s holding fast, it’s time for the exciting part: the actual paint! You can use a good quality interior latex paint. Many people opt for a satin or semi-gloss finish for kitchens, as they’re more durable and easier to clean.

Apply your paint in thin, even coats. Again, resist the urge to rush. Multiple thin coats are always better than one thick, gloopy one. You might want to use a foam roller for smooth surfaces, as it will minimize brush strokes and create a more uniform finish.
A good rule of thumb is two to three coats of your topcoat. Allow ample drying time between each coat. And here’s a little tip from someone who’s been there: don’t reassemble your cabinets immediately. Let the paint cure for a few days, or even a week if you can swing it. This allows the paint to harden and become its most durable self.
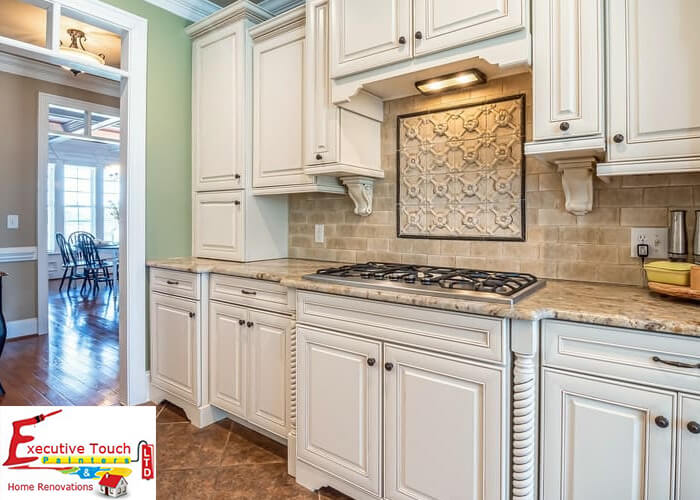
Will it be exactly like factory-finished cabinets? Perhaps not. But will it be a fresh, personalized, and undeniably you look that you achieved with your own two hands? Absolutely! And that, my friends, is a victory worth celebrating. So go forth, and give those thermofoil cabinets the makeover they’ve been dreaming of!