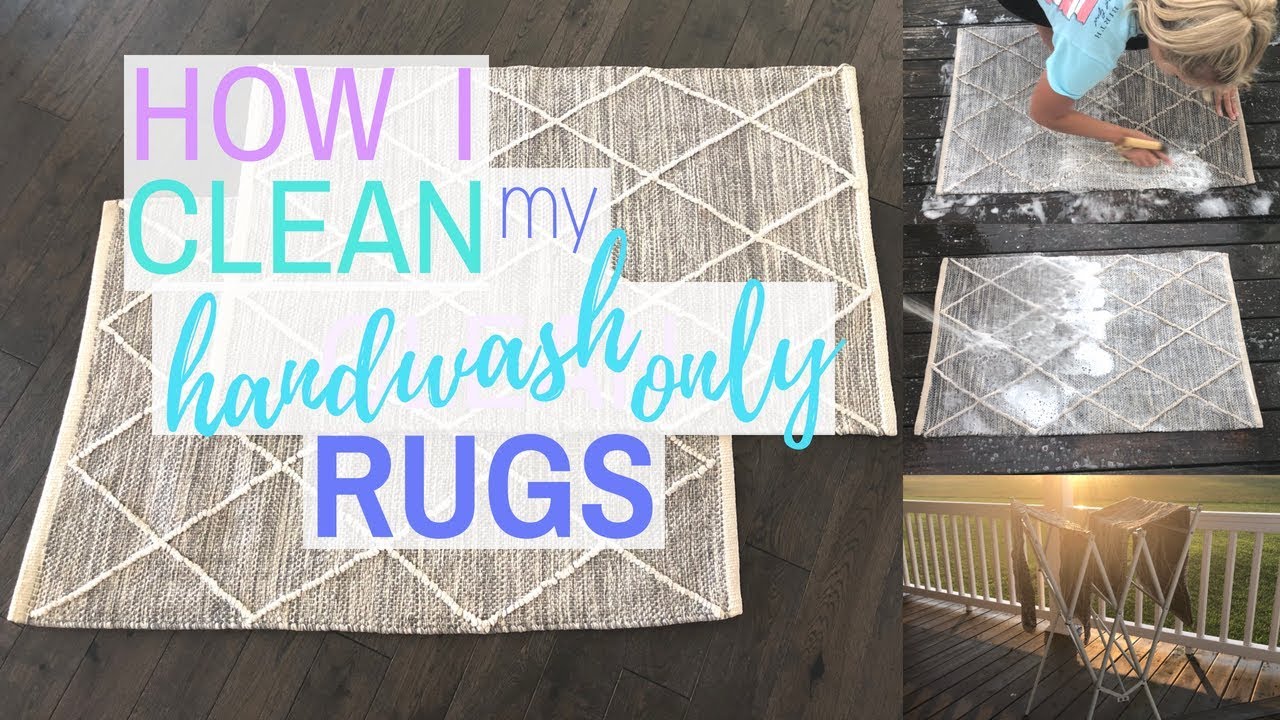
Best Way To Clean A Rug By Hand

Let's be honest, who actually loves cleaning? It's not exactly the highlight of anyone's week, right? We'd all rather be binging our favorite show, experimenting with a new sourdough recipe, or even just staring blankly at the ceiling for a bit. But then there's that one fluffy, colorful, or perhaps heirloom rug in your living room. It's the silent hero, the cozy foundation of your favorite reading nook, the accidental landing pad for dropped snacks (we’ve all been there!), and the fluffy stage for your pet’s latest zoomies. So, it deserves a little love back, wouldn’t you agree?
And guess what? Cleaning it by hand, that thing that sounds like a Mount Everest climb of chores, can actually be surprisingly… manageable. Dare I say, even a little satisfying? Think of it as giving your rug a spa day. A little pampering, a little deep clean, and suddenly, it’s looking and feeling (and smelling!) so much better. Plus, you’re saving your wallet from those expensive professional cleaning bills. Cha-ching!
Now, I'm not talking about scrubbing it like you're trying to erase a seven-year-old's marker masterpiece. We're going for a gentle, effective approach. The kind of clean that makes you breathe a sigh of relief when you see how fresh it looks. So, grab your comfiest socks, maybe put on some upbeat tunes, and let's dive into the wonderful world of hand-cleaning your rug.
Must Read
Why Bother With a Hand Wash Anyway?
You might be thinking, "My vacuum cleaner does a pretty good job, right?" And yes, your trusty vacuum is a superhero for daily maintenance. It’s like the quick-draw sheriff of dust bunnies. But sometimes, those stubborn stains, the accumulated grime that even the most powerful suction can’t quite conquer, and the general "lived-in" aroma need a more hands-on approach. Think of it this way: you wouldn't just brush your teeth once a week, would you? Your rug deserves a little more than just a daily whisk-away.
Hand cleaning is also a fantastic way to be gentle with your rug. Over time, aggressive vacuuming or harsh chemicals can actually damage the fibers, making your rug look tired and worn. A careful hand wash is like a delicate massage for those delicate fibers, preserving its beauty for years to come. It’s an investment, really. An investment in a cozier home and a happier rug!
And let's not forget the satisfaction! There’s something incredibly rewarding about seeing a transformation happen right before your eyes. That coffee spill that looked like a permanent resident? Gone. That mysterious, slightly-less-than-fresh smell after a particularly rainy week? Banished! It’s a little victory, a testament to your own efforts. And who doesn't love a good home win?
The "Pre-Game" Ritual: Gathering Your Supplies
Before we get our hands dirty (or should I say, clean?), let's make sure we have our arsenal ready. It’s like prepping for a delicious baking project; you need all your ingredients measured out and ready to go. This way, you won't be scrambling mid-wash, wishing you'd thought of that one crucial item.
First up, you'll need a gentle cleaning solution. We're not talking about anything harsh that would make your skin crack. Think along the lines of a mild dish soap (like Dawn, the original grime fighter!) or a specialized rug cleaner designed for hand washing. A little goes a long way, so don't go overboard. Too much soap can leave residue, and nobody wants a sticky rug. Another great option? A mixture of warm water and a splash of white vinegar. It's a natural deodorizer and a fantastic stain fighter, all in one!
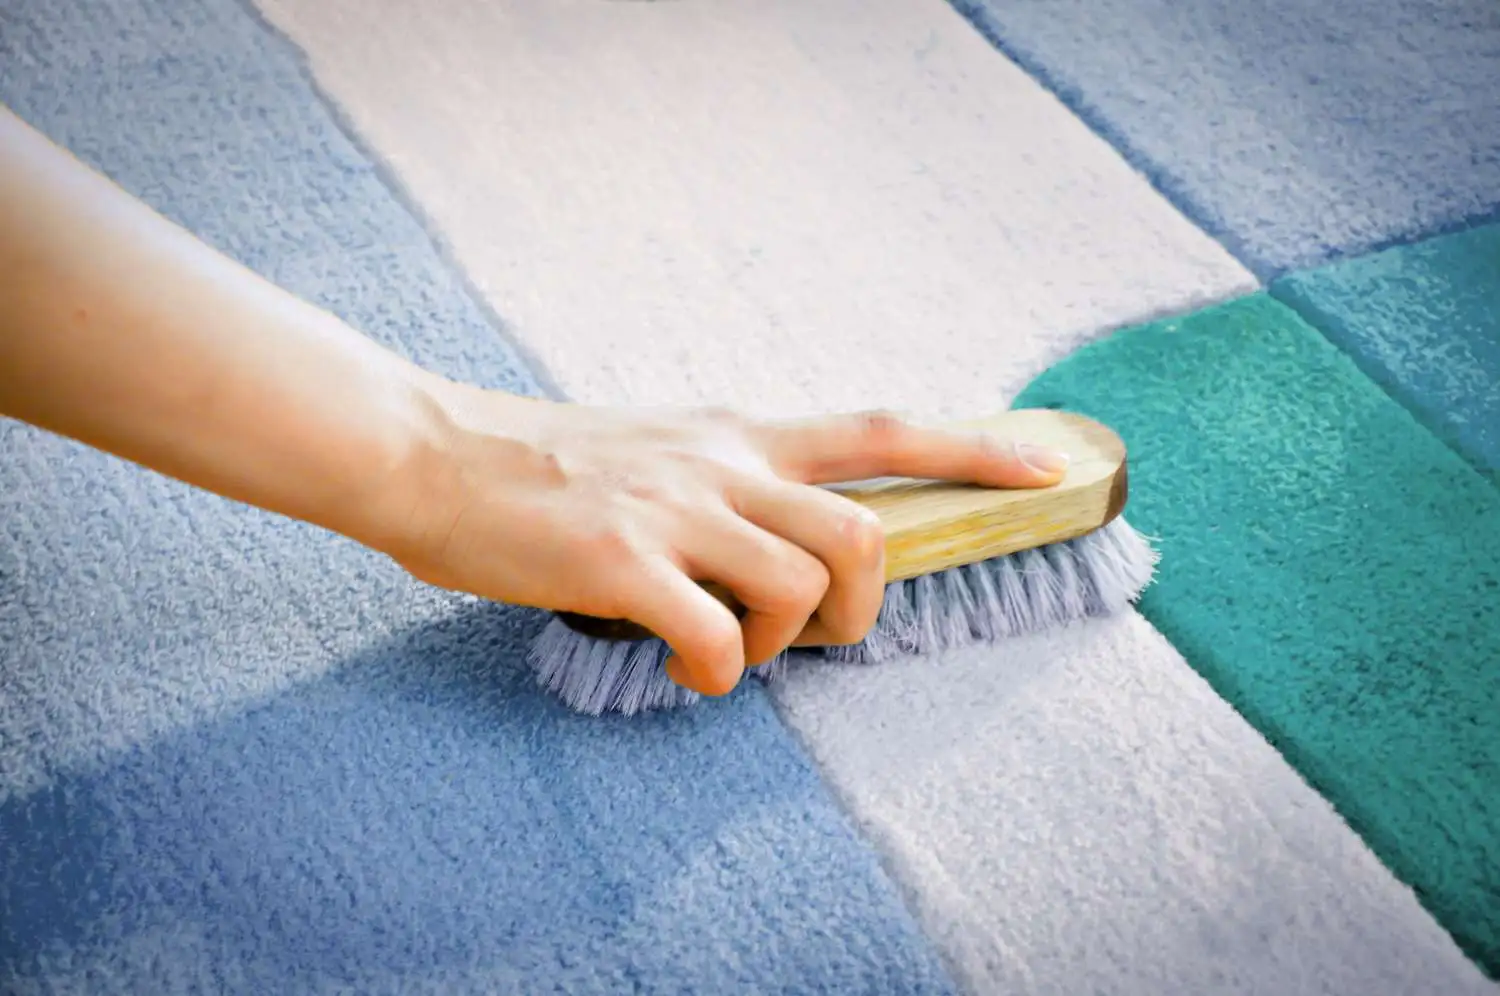
Next, grab some soft brushes. You don't need a drill attachment or a power scrubber. A soft-bristled scrub brush (think of the kind you might use for washing a car, but a smaller, gentler version) or even a clean, stiff-bristled broom will work wonders. For more delicate rugs, a soft cloth or a sponge might be your best friend.
You'll also need a couple of clean towels. Microfiber towels are excellent because they're super absorbent, but any clean bath towels will do the trick. And finally, a good old-fashioned bucket. For filling with your cleaning solution and rinsing.
Oh, and one more thing: patience! This isn't a race. It's a process. So, put on some chill music, take a deep breath, and get ready to give your rug some TLC.
Let the Spa Day Begin: Step-by-Step Rug Refresh
Alright, you've got your supplies, your playlist is on, and you're feeling ready. Let's do this!
Step 1: The Shake-Down and Vacuum
Before we introduce any moisture, we need to get rid of the loose stuff. Think of this as giving your rug a good stretch before a workout. If your rug is small enough, take it outside and give it a good shake. Seriously, get some good wiggles going! This will dislodge dust, crumbs, and any stray pet hair that’s clinging on for dear life. For larger rugs, you might not be able to shake it as vigorously, but a good thrashing with a broom handle can help loosen things up.

After the shake-down (or even if you can’t shake it), give it a thorough vacuum. Go in multiple directions to ensure you’re getting as much of that surface debris as possible. This step is crucial because you don't want to turn dust into mud when you add water. Nobody wants muddy rug soup.
Step 2: Spot Treatment - Tackling the "Oopsies"
We all have those inevitable "oopsies." That red wine spill from game night, the muddy paw print after a rainy walk, or the forgotten coffee drip from that early morning rush. For these specific offenders, we need to go in for a targeted attack. Before you even think about wetting the whole rug, address these spots.
Mix a small amount of your chosen cleaning solution (that mild dish soap or vinegar mixture) with warm water. Dip your soft brush or cloth into the solution and gently blot the stain. Blotting is key here – you don't want to rub and spread the stain further. Work from the outside of the stain inwards. For tougher stains, you might need to repeat this a few times. Think of yourself as a stain detective, carefully analyzing and neutralizing the evidence!
Once you’ve treated the spots, give them a good rinse by blotting with a clean, damp cloth (just water this time). This is important to remove any cleaning solution residue that could attract dirt later.
Step 3: The Gentle Wash - A Soothing Soak
Now, for the main event. If your rug is too big to take outside, you can do this in a bathtub or a large sink. Lay your rug flat and gently wet it with cool or lukewarm water. Avoid hot water, as it can sometimes cause colors to bleed or shrink fibers.
In your bucket, mix your cleaning solution with warm water. You want it to be sudsy, but not ridiculously foamy. Now, with your soft brush or cloth, start gently working the cleaning solution into the rug fibers. Move in the direction of the pile, not against it. Think of it as caressing the rug, not attacking it. For areas that feel a bit grimy, you can apply a little more pressure, but always err on the side of gentleness.
Imagine you're washing a precious baby blanket – you wouldn't want to be rough, would you? Treat your rug with that same care. Work in sections, and don't let the rug sit in puddles of soapy water for too long. The goal is to clean, not to drown it.
Step 4: The Rinse Cycle - Washing Away the Suds
This is arguably the most important step to avoid that sticky, soap-scum feeling. You need to get all that cleaning solution out. If you’re in a bathtub, drain the soapy water and refill with clean, cool water. Gently press down on the rug to help the water soak through and rinse the fibers.
You can also use your bucket to pour clean water over the rug, encouraging the suds to wash away. Keep rinsing until the water runs clear and there are no more signs of soap. This might take a few rounds, and that’s perfectly okay. It’s like rinsing your hair after shampooing – you keep going until it feels truly clean.
If you’re worried about the rug getting too heavy to lift, you can gently squeeze out excess water as you go. Don’t wring it out like a dishcloth, though! Just a gentle press to remove the bulk of the water.

Step 5: The Drying Stage - Letting it Breathe
This is where the magic happens and your rug starts to transform. Once you’ve rinsed out all the soap, you need to get as much excess water out as possible. You can gently press down on the rug with your hands or even stand on it (carefully!) to help squeeze out more water. Then, wrap it tightly in your clean, dry towels and press down to absorb more moisture. You might need to do this a few times with fresh towels.
The best way for a rug to dry is to have good air circulation. Lay your rug flat on a clean surface, like on top of a few spaced-out chairs or a drying rack. Make sure both sides can get air. If you have a fan, point it at the rug to speed up the drying process. Avoid direct sunlight for extended periods, especially for brightly colored rugs, as it can cause fading.
The key is patience. It might take 24-48 hours, or even longer depending on the thickness of your rug and the humidity. Don't rush it! A damp rug can lead to mildew, and that's a smell nobody wants to deal with.
Step 6: The Fluff and Finish
Once your rug is completely dry, it might look a little flat. Give it a good fluff! You can use your hands to gently comb through the pile or even use your soft-bristled brush to revive the fibers. This will make it look and feel plush and inviting again.
And there you have it! You've just given your rug a fantastic hand wash. Take a moment to admire your work. That fresh, clean smell? That soft, inviting texture? All thanks to you!
Cleaning your rug by hand might seem like a bit of an undertaking at first, but it's a wonderful way to show your home a little extra love and keep your rugs looking their best. So, next time that spill happens or your rug starts looking a little less vibrant, remember this guide and give your rug the spa day it deserves. Your feet (and your wallet!) will thank you.
/how-to-clean-a-wool-rug-4177780-6adc9b4a1ab94c01a49fe9690e3f25b2.png)
